
Table of Contents
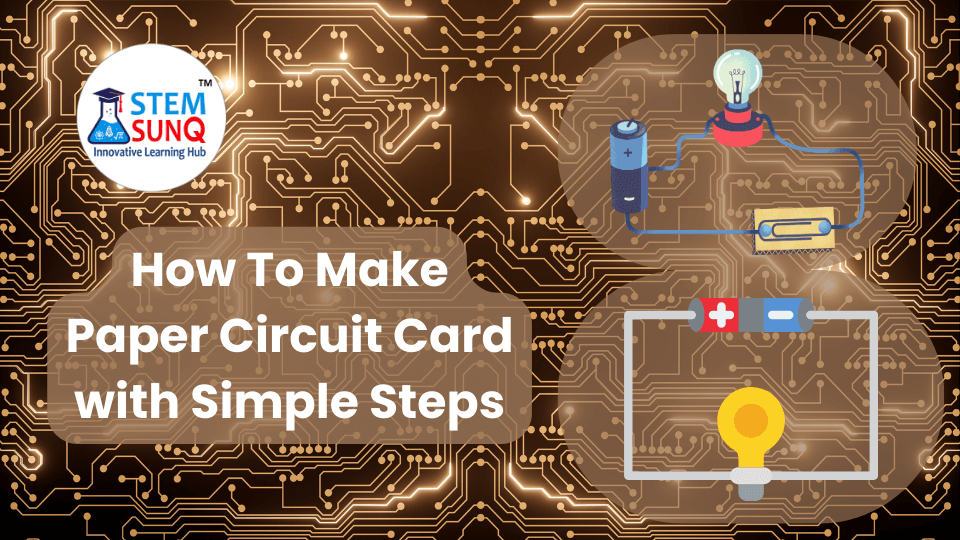
The ultimate combination of science, technology, art, and design is found in the creation of paper circuit cards.
Because of this, you can use this stem project for fun at home, at library events, or as part of any STEAM or STEM curriculum at your school.
Allow children to explore with paper circuit art and create a unique card that lights up, letting their creativity run wild!
In this blog post, You will know how to make paper circuit cards with simple steps, So let’s get started.
Material Needed
1. A4 size paper
2. Copper tape
3. Light emitting diode
4. Coin cell batteries
5. Scissors
6. 5mm LEDs of assorted colors
Now make a circuit
How to Make Circuit
Before you make paper circuit cards first understand the 5mm LED, this LED has two legs, one leg is slightly longer than the other. The longer one is positive (+ve) and the shorter one is negative (-ve).
All you have to remember is there must be a direct path from the negative end of the battery, through the light and back to the positive end of the battery.
On cell batteries, the negative is usually the bottom of the battery while on the other the positive is the top, It will be mentioned (labeled) on the battery.
The electrons must flow from the negative end of the battery to the negative end of the LED. If the LED is oriented incorrectly it will not light up.
Before joining a circuit with a tape, I suggest testing the LED to ensure it works. The negative (-ve) leg should be placed on the bottom of the battery and the positive (+ve) leg should be placed on the top of the battery.
When you do this, Now it should light up!
That’s all, now you need to know how to make a paper circuit board, let’s move forward.
How to Make a Paper Circuit Card
To make a paper circuit card, First place a copper tape on the paper with the shape of a rectangle, leaving a small gap along one of the sides.
The three corners of the rectangle shape are connected while there is a small gap on the fourth corner of this rectangle. As you can see in the below screenshot.
I have attached the two legs of the LED on the side of that gap with copper tape.
It is very important to note that the two legs of the LED should not touch each other and there should be a gap in the tape, to prevent light short circuits.
I have placed a coin cell battery on that open corner of the rectangle shape.
To touch one side of the battery with that one copper tape end piece, and another end piece of the corner tape placed on another side of the coin battery.
Check out our Electronic Paper Circuit DIY Kit
Buy Electric Paper Circuit Kit for Children
Spark your child’s interest in electronics and creativity with our Electronic Paper Circuit Kit! This Educational and innovative kit combines art and electronic, allowing kids to create unique paper circuits that light up and move.
How to Make Paper Circuit Cards with Two LEDs
There are many ways to create circuits with Two LEDs, One option is to arrange the lights in series. This means the flow of the electrons from the battery to the light, with the help of copper tape to another light and then come to the battery.
To get more light in both LEDs, you need to put 2 cell batteries on top of each other to provide enough current!
The second is another way to make a circuit with two LEDs in parallel. It indicates that, apart from one another, every light has a separate, unique route to and from the battery. You just need only one battery to power them.
So this was about how you can make paper circuit cards with simple steps on your own. Do the comments if you have any queries.
And share it with people who need to know this.