Table of Contents
Are you looking for a fun and easy way to get your kids excited about electronics?
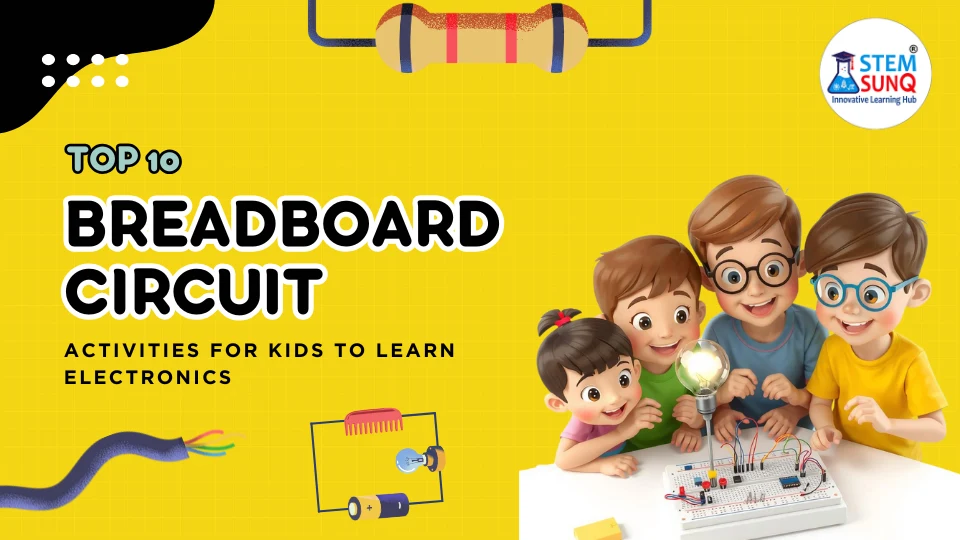
Breadboard circuit activities are the perfect hands-on learning experience that helps to build a simple project while enjoying.
These activities help kids explore how circuits work, help to clear basic concepts about electronics, and all while building their creativity and problem-solving skills.
Seeing how something as simple as connecting wires and components can spark their curiosity to learn more about breadboard circuits and teach important STEM concepts is impressive.
In this post, we’ll show you 6 awesome breadboard circuit activities that will give your kids a chance to play, learn, and discover the basics of electronics in a way they’ll love.
Ready to get started?
Essential Electronic Components You Need to Know
Before diving into the fun activities, let’s take a quick look at the basic electronic components you’ll be working with.
Understanding these parts will help your kids feel more confident when building their own circuits.
1. Breadboard: The “platform.” Like a puzzle board. No soldering. Just plug and play.
2. Resistor: The traffic controller. Slows down electricity. Prevents overheating. Keeps things safe.
3. LED (Light Emitting Diode): The magic light. It glows when current flows. Just like those little lights in your phone.
3. LDR (Light Dependent Resistor): Changes resistance with light. Pretty cool, right? More light = less resistance. Your circuit reacts to its environment.
4. Battery: The heart. Powers the whole thing. No battery, no action.
5. Jumper Wires: These babies connect everything. Think of them as the highways for electricity.
6. Switches (Buttons): Control. On/off. Simple. A click here, a click there.
7. Buzzer: Makes noise. When the circuit’s complete, you hear it.
8. Diodes: One-way street. Current can’t flow backwards. Protects your circuit.
Got it? Awesome. Let’s dive into the fun stuff.
6 Breadboard Circuit Activities for Kids
Activity 1: LED Series Experiment
Items Required:
- Breadboard
- 3 LEDs
- 1 Resistor
In this activity, your kids will learn how to create a basic series circuit by connecting three LEDs. The LEDs will light up one after the other, creating a cool effect!
This experiment helps kids understand how electricity flows in a series circuit and how different components interact with each other.
It’s simple to set up, and your child will enjoy seeing the LEDs glow once the circuit is complete.
For a step-by-step guide on how to set up the circuit, check out our YouTube video below!
Learning Outcome:
- Series Circuit Understanding: Kids will learn the basics of how a series circuit works, with each component connected one after the other, passing electricity through.
Watch the full tutorial video here:
Activity 2: LED Using Push Button Experiment
Items Required:
- LED
- Resistor
- Switch (Push Button)
This activity teaches kids how to control an LED using a push button.
By pressing the button, they’ll turn the LED on, and when they release it, the LED will turn off.
It’s a simple yet exciting way to introduce the concept of switches and how they control the flow of electricity in a circuit.
For a step-by-step guide on how to set up the circuit, check out our YouTube video below!
Learning Outcome:
- Control with a Switch: Kids will learn how to use a push button as a switch to control the flow of electricity, turning the LED on and off.
Watch the full tutorial video here:
Activity 3: Buzzer Alarm Experiment
Items Required:
- Resistor
- Buzzer
- LED
In this activity, kids will create a simple alarm system by connecting a buzzer and LED to a circuit.
When the circuit is complete, the buzzer will sound, and the LED will light up, making a fun alarm sound.
This is a great way to teach kids about using buzzers in circuits and how they can be used to alert or warn us.
For a step-by-step guide on how to set up the circuit, check out our YouTube video below!
Learning Outcome:
- Buzzer in Action: Kids will learn how to use a buzzer in a circuit, understanding how it works to produce sound when powered.
Watch the full tutorial video here:
Activity 4: LED Light Activation Using LDR Experiment
Items Required:
- LED
- Resistor
- Light Dependent Resistor (LDR)
In this experiment, kids will learn how a Light Dependent Resistor (LDR) can control the brightness of an LED based on the amount of light it receives.
When the LDR is exposed to light, it allows more current to flow through, causing the LED to glow brighter.
This is a great way to explore how light affects electronic components!
For a step-by-step guide on how to set up the circuit, check out our YouTube video below!
Learning Outcome:
- Light Sensitivity: Kids will understand how an LDR works, changing its resistance based on light, and how it can be used to control the brightness of an LED.
Watch the full tutorial video here:
Activity 5: LED On/Off Experiment
Items Required:
- LED
- Resistor
This simple activity shows how an LED can be turned on and off by controlling the power.
By connecting the LED through a resistor to a battery, kids can easily see how electricity flows to light the LED.
When the power is cut off, the LED will turn off, helping kids understand how circuits work by completing or breaking the electrical flow.
For a step-by-step guide on how to set up the circuit, check out our YouTube video below!
Learning Outcome:
- Basic Circuit Understanding: Kids will learn how to complete a circuit to power an LED and how cutting the power turns it off.
Watch the full tutorial video here:
Activity 6: 2 LEDs Using 2 Push Buttons
Items Required:
- 2 LEDs
- 2 Push Buttons (Switches)
- 2 Resistors
- 2 Jumper Wires (additional for connections)
In this activity, kids will learn how to control two LEDs using two separate push buttons.
Each push button will turn on one LED, giving them hands-on experience with controlling multiple components in a circuit.
It’s a simple, interactive way to show how switches work and how different parts of a circuit can be controlled independently.
For a step-by-step guide on how to set up the circuit, check out our YouTube video below!
Learning Outcome:
- Control Multiple LEDs: Kids will learn how to control multiple LEDs independently by using separate push buttons for each one.
Watch the full tutorial video here:
Start Your Child’s Journey into Electronics with Our Fun Activity Kit!
Our STEM SUNQ Breadboard Circuit Activity Kit includes all the essential components,
With easy-to-follow instructions and video tutorials, your kids will be ready to build, create, and experiment with their own circuits.

Don’t wait—help your child start their hands-on learning journey with the STEM SUNQ Breadboard Circuit Activity Kit today!